Spend a little time, and using your smartphone afterwards will be much more enjoyable.
Tie your smartphone to your Google account
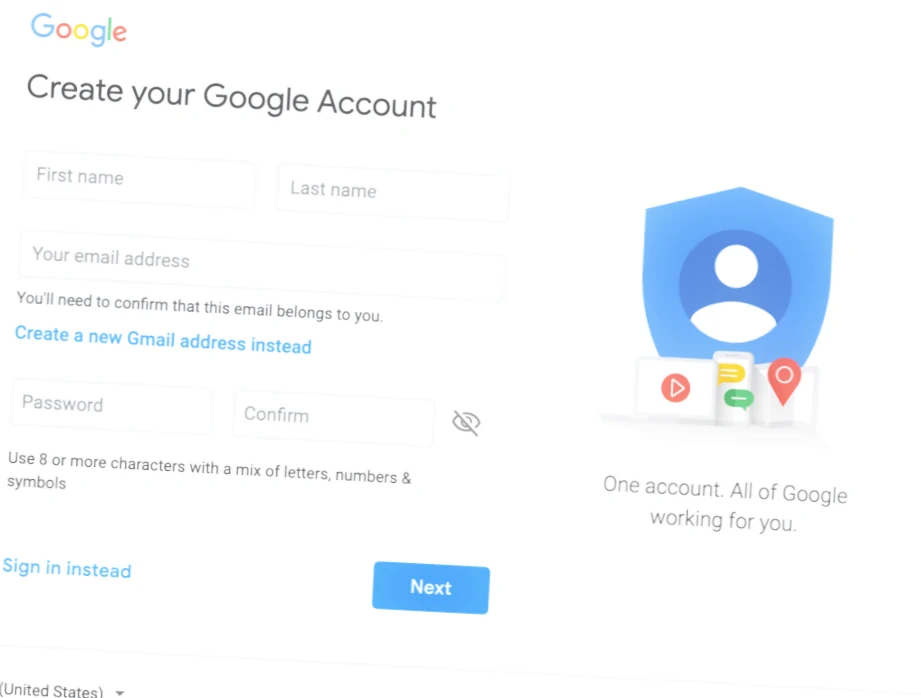
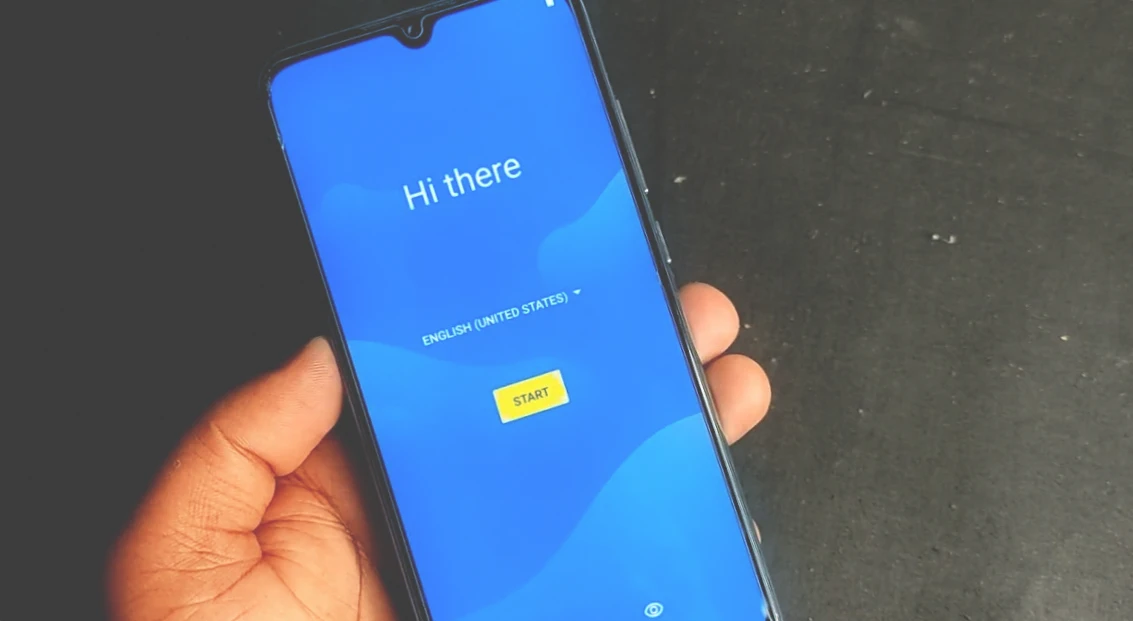
The first time you turn your phone on, you’ll be greeted by a setup wizard. First of all, it will ask you to connect to your Google account. If you accidentally or intentionally skipped this step, you can do it later this way:
- Open your smartphone settings.
- Tap “Accounts,” and on some devices, tap “Users and Accounts.”
- At the bottom of the screen, tap “Add Account,” then select its type – Google.
- Enter your username and password.
A Google account is necessary in order to install applications through Google Play, get email, synchronize data and contacts. In general, you can’t do without it on Android. Once your smartphone is connected to your account, you can proceed to the next steps.
Update the system and the applications
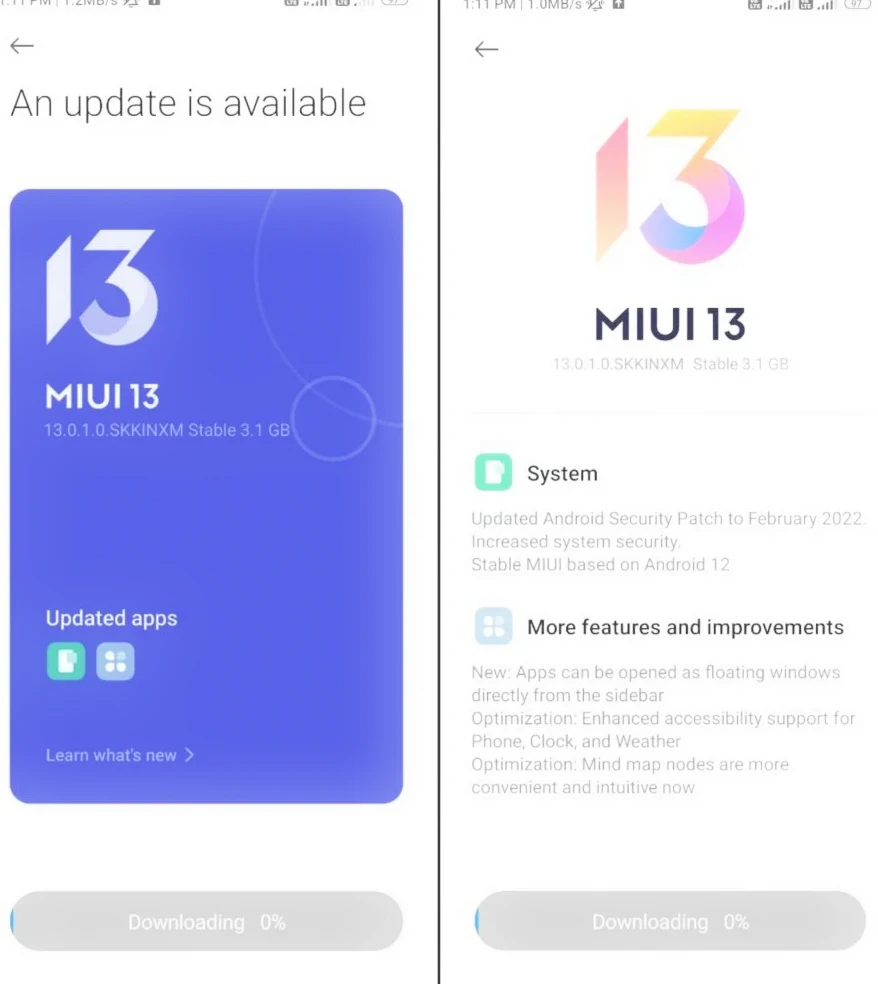
Even if you have a brand new smartphone, it’s worth checking and installing updates. During the time your device has been sitting on the counter, the manufacturer and third-party app developers have probably rolled out new versions of their software and firmware patches.
- If you have a clean Android firmware, open the settings and successively tap “System” → “Advanced Settings” → “System Update”. In some firmware versions, there is no item “Advanced Settings” – in this case, you should press “About System”.
- You will see a menu telling you the status of the update. If there is a new software version, press “Update”.
Owners of modified firmware from Samsung, Xiaomi, and other manufacturers will have slightly different settings. To see instructions on how to update the firmware on a particular brand of device, see our article.
It is worth updating not only the system but also the applications of your smartphone.
- Go to the Google Play store and open the menu on the side.
- Tap “My apps and games.”
- If updates are available, tap “Update all” and wait a while.
Turn on the “Find My Device” feature
Losing your smartphone is a terrible thing. Losing your new smartphone is just awful. That’s why it’s worth taking care to protect your Android before anything happens to it. To do this, you need to turn on Google’s “Find My Device” feature.
- Open your smartphone settings and go to Settings → Google → Security in sequence.
- Tap “Find My Device” and make sure this feature is enabled.
- Go to android.com/find and check that your smartphone appears correctly on the map.
Google’s built-in device search is very handy. But if you want to use more protection, check out these options.
Set up screen locks
Since our phones hold a ton of sensitive data (personal photos, correspondence, passwords, and bank records), you just need to protect your Android from prying strangers. First of all, set up a screen lock.
- Open your smartphone settings.
- Select “Security & Location” or “Lock Screen & Security,” depending on your firmware version.
- Select a security method – password, PIN, Pattern, Face Scan, or Fingerprint.
Most importantly, remember your password well so that you don’t end up not being able to unlock your smartphone.
Activate Smart Lock
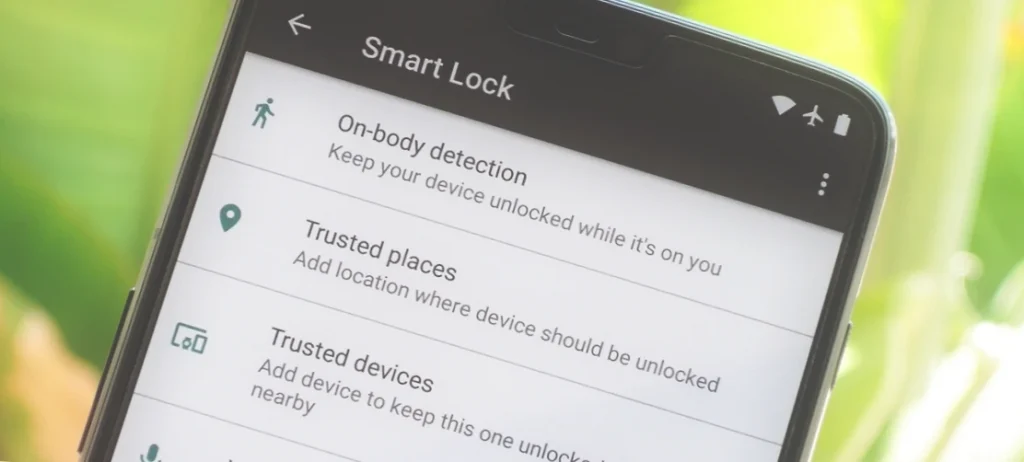
Locking your screen is essential for your security, but sometimes having to unlock your screen all the time is annoying, especially when you’re at home. To make life a little easier, activate Smart Lock. It unlocks your smartphone automatically if you’re at home or if there’s a trusted Bluetooth device nearby – like your desktop computer or a smart wristband.
- To activate Smart Lock, open your smartphone settings and tap Security and Location → Smart Lock.
- Enter your password
- Сhoose the automatic unlock option you want – in trusted locations, near a trusted device, or via the “Ok Google” passphrase.
Set the Schedule for Do Not Disturb Mode
Aren’t you tired of manually turning off notifications on your smartphone every time before you go to university, work, or get ready for bed? Instead of opening the curtain every time, it’s better to set a schedule and let your phone go into silent mode automatically.
Here’s how to do it:
- Swipe down the screen to open the notification curtain and find the Do Not Disturb button.
- Press and hold the button until the schedule settings appear.
- Activate the “Turn on automatically” feature.
- Press “Add” and specify what times and days of the week your phone should automatically turn off notifications. You can create as many rules as you like – for example, have silent mode turn on when you’re working, then turn off, then turn back on when you’re sleeping.
- When you’re done creating a schedule, click the checkmark in the upper right corner to save your settings and exit the settings.
Turn on the “Ok Google” Command in Google Assistant
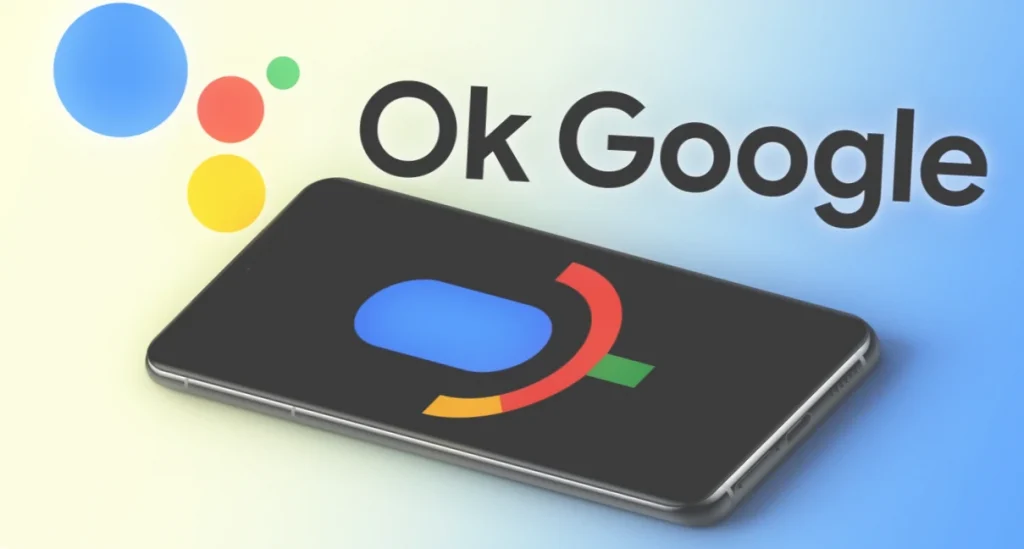
Google Assistant makes life a lot easier, especially when you need to do something with your phone and your hands are busy. For example, switch the track you’re playing or take a call. But first, you need to set up the assistant so that it always responds to the “Ok Google” command.
- To turn on the “Ok Google” command, open the main Google app
- Tap the triple dot labeled “More,” select the Settings option
- Choose the “Google Assistant” option. Switch to the “Assistant” tab, and tap “Phone”
- Turn on “Google Assistant” and tap “Access with Voice Match.” When the smartphone asks you to provide a voice sample, tap “Next,” say “Ok Google” four times, and select “Done”
- Turn on voice unlocking if desired. It comes in handy if you need to give commands to the assistant and the screen is off.
Turn on Photo Backups in Google Photos
Google Photos is a great app. It allows you to organize your photos, and the program ensures that not a single picture is lost.
- To turn on photo backups in Google Photos, open the app
- Сlick “Allow” to enable automatic uploading and saving of photos
- In the window that opens, select the Google account you want to sync your photos with.
- Choose in what quality you want to upload your photos – for photos with native quality, space is limited by the amount of storage you have in Google Drive. There is no limit for the “High quality” option.
- Check the “Use mobile Internet” box if you don’t care about data consumption.
- Click OK.
Install Your Apps
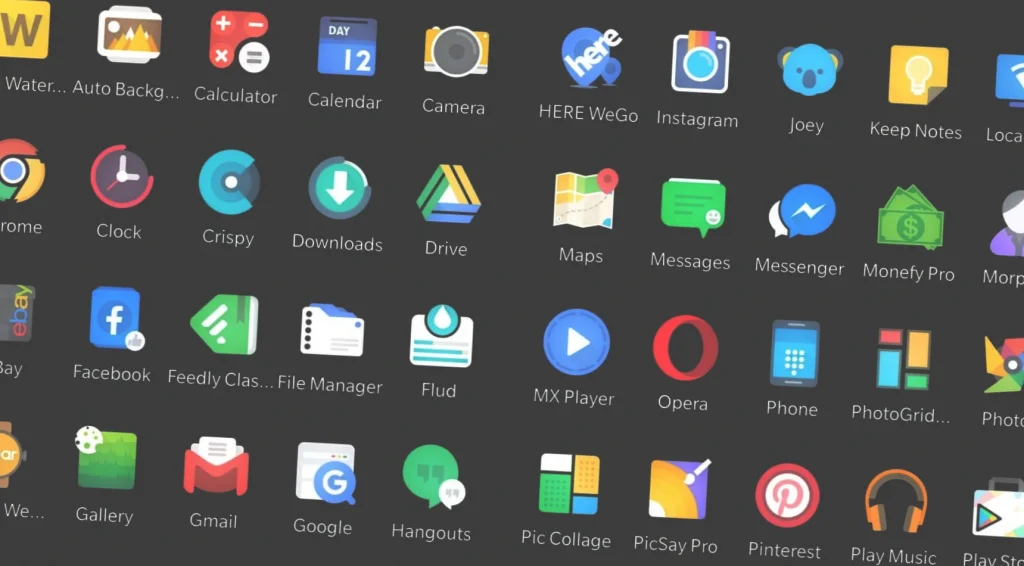
We have a list of the best and most tested apps for you to install on your new gadget. Of course, you don’t need to download them all. Choose only what you need. And remember: less is better. The fewer apps you have installed, the more stable and faster your Android will be. And you’ll have more space for your files and music.
Choose Your Default Apps
When you first open any file or link, Android asks you which program to use. It’s a little annoying. So after you’ve installed the essential programs, it’s worth taking some time and setting up your default apps. Then the system will know your preferences and won’t bother you with unnecessary queries.
- Open “Settings” and go to “Apps”.
- Look for “Default apps” (it can be under “Advanced” or in the three-dot menu in the upper right corner of the screen).
- In the settings that open, select your favorite browser, image viewer, music and video player, calling and messaging software, email client, and other frequently used apps.
- When you’re done, click the arrow at the top of the screen to save your changes and exit.
Customize Your Home Screen

Setting up your home screen is a pretty individual activity. Some Android users like to clutter it with widgets and prefer live wallpapers. Others follow the philosophy of minimalism and want their phone not to distract them from important things. Nevertheless, we can give a couple of general recommendations.
- Do not create a lot of desktops. Three will be enough. Otherwise, flipping through them in search of what you need will take a lot of time
- Place on your home screen only those applications and widgets that you use frequently. All the games and unimportant tools are better hidden in the depths of the menu
- Create folders. Categorize your apps so you can find what you need faster.
Instead of digging around on the web and manually selecting Android wallpapers, install some app that will update the backgrounds automatically. For example, Wallpaper Changer or Casualis.